Ingredients:
Butter: 50g; Low-gluten flour: 95g; Egg: 15g; Powdered sugar: 150g; Vanilla extract: 2 to 4 drops; Egg white: 1.
Additional Ingredients:
Food coloring: as needed.

Flavor: Sweet; Technique: Baking; Time: One hour; Difficulty: Easy.
Detailed Steps for Making Christmas Tree Cookies (No Mold Needed)
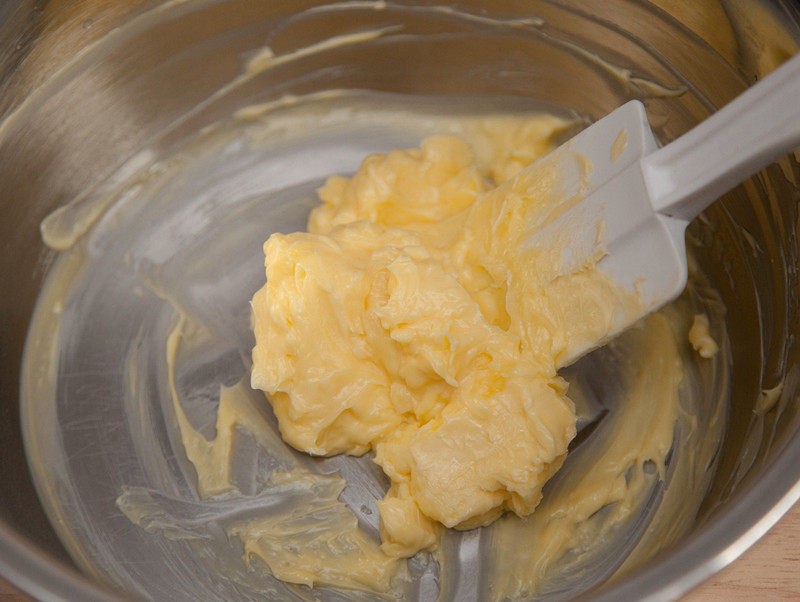
Soften the butter
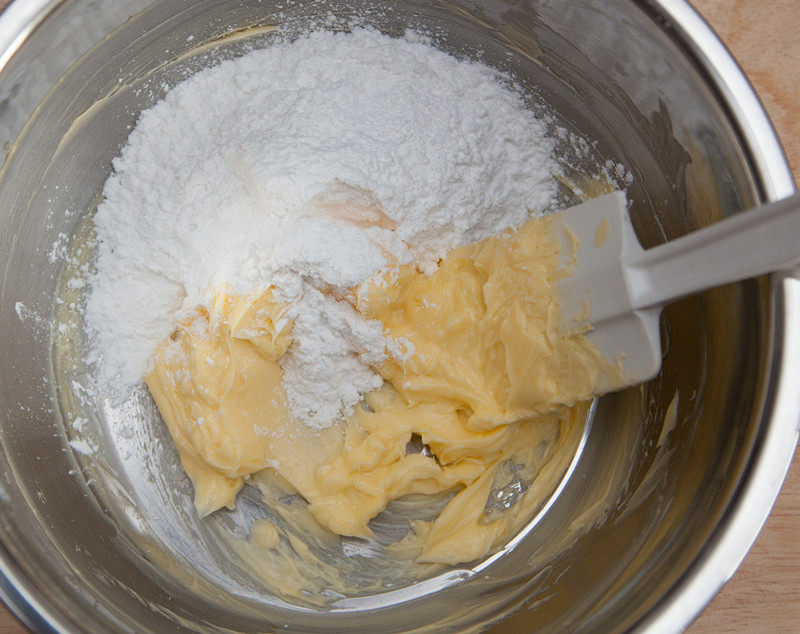
Add powdered sugar
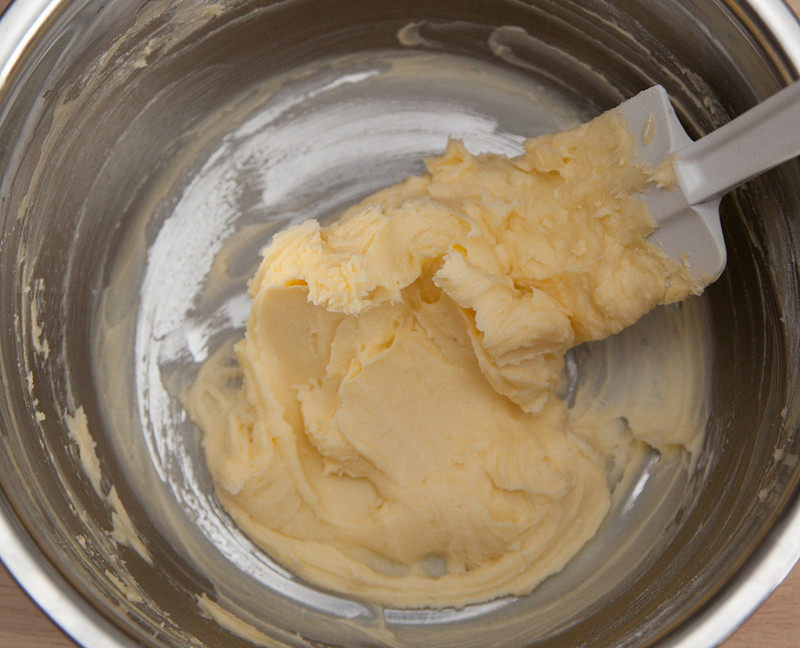
Mix well with a rubber spatula
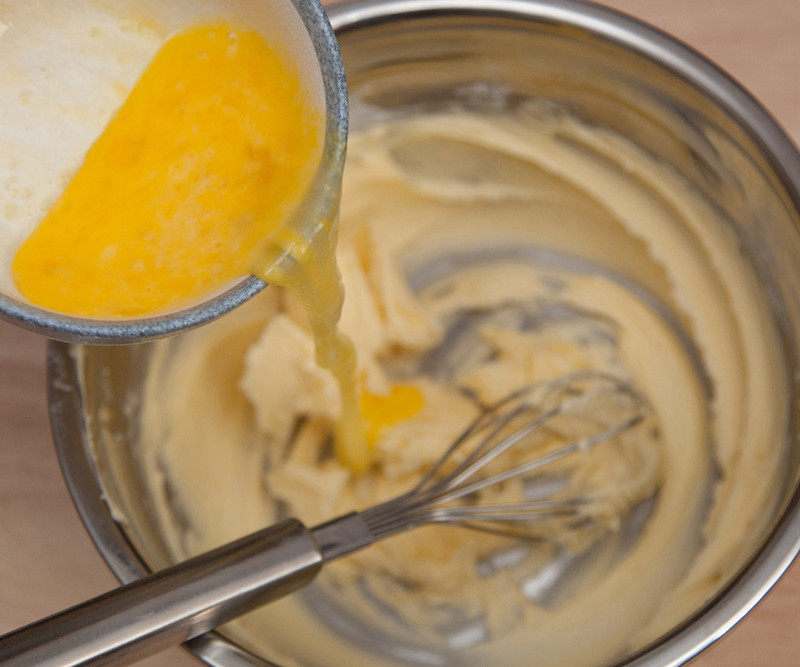
Add egg liquid in two batches, mix with a hand whisk until the egg is fully absorbed
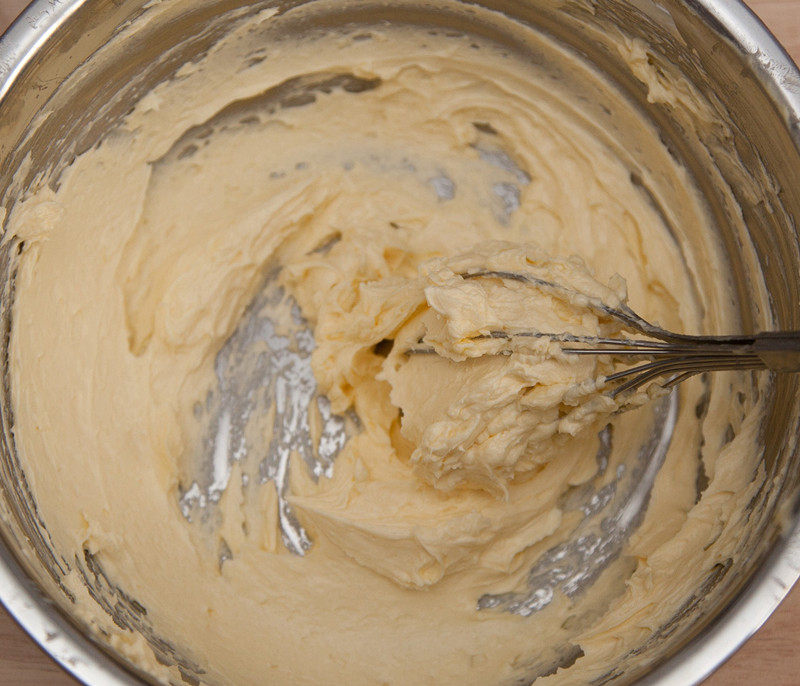
Add a few drops of vanilla extract, continue to beat until well combined
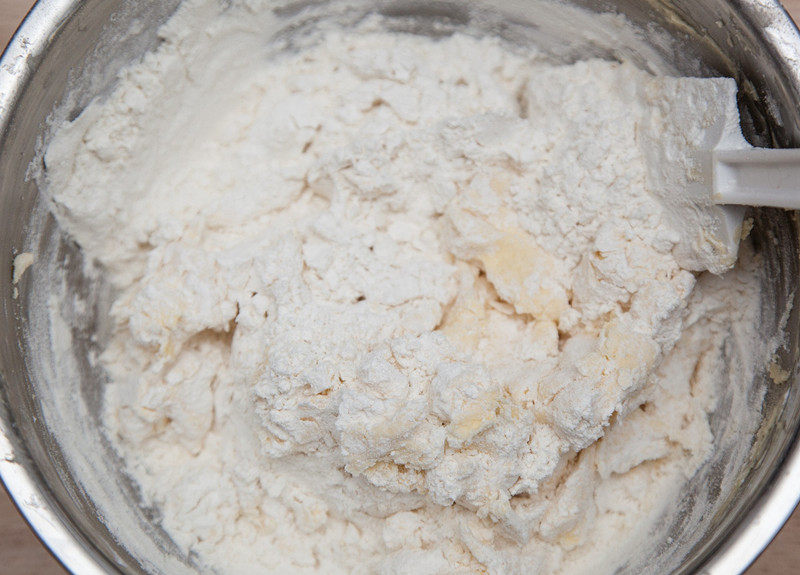
Sift in low-gluten flour
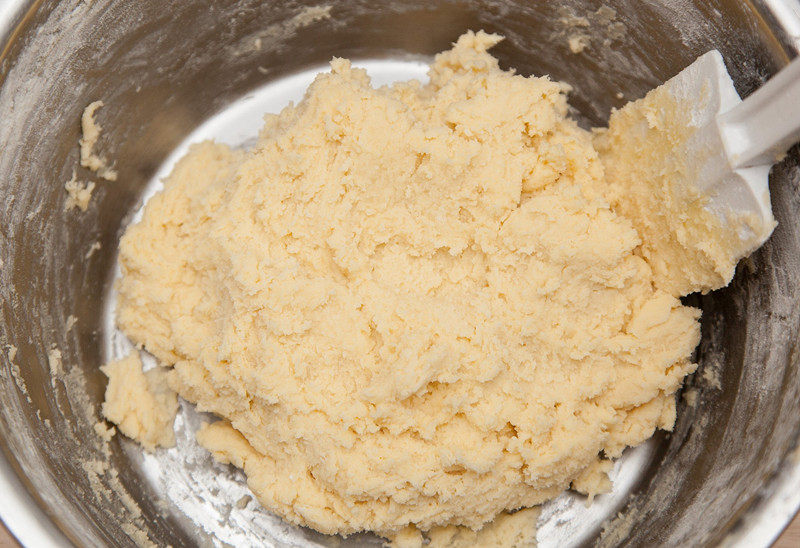
Cut and mix with a rubber spatula until no dry flour remains
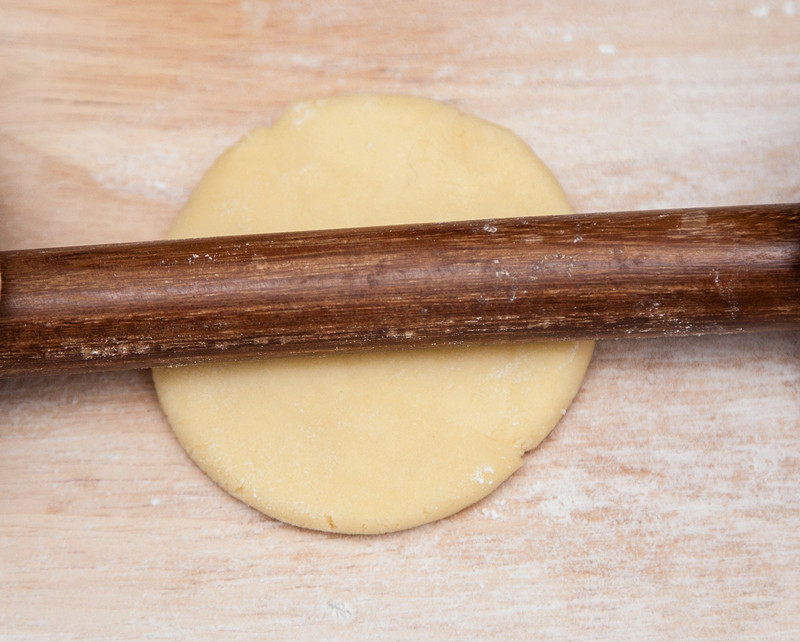
Place the dough on a cutting board, roll it out into a thin sheet of 0.3-0.5 cm
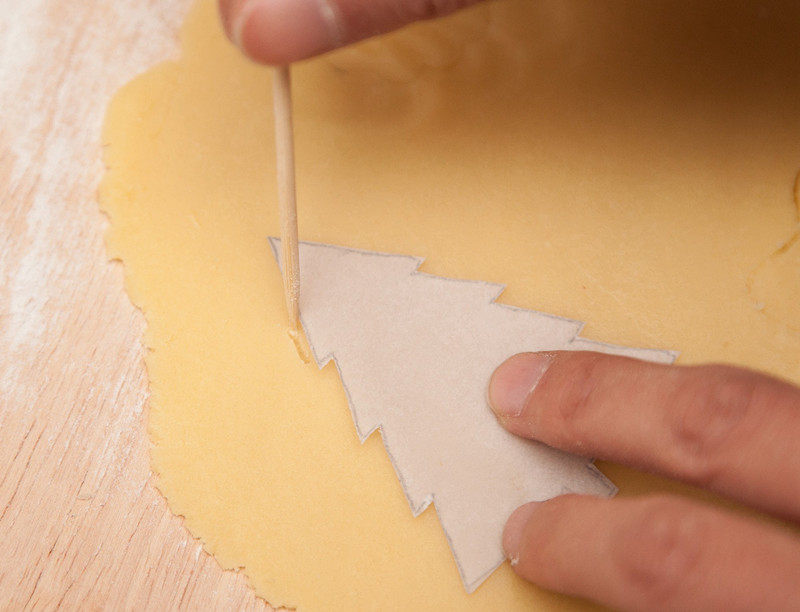
Use pre-made paper cookie templates, place them on the dough, outline with a toothpick, then remove the paper template and use a sharp knife to cut out the shapes. Preheat the oven to 170 degrees, top and bottom heat, place on the middle rack, bake for about 15 minutes
Start making the royal icing by placing 1 egg white in a container, ensure the container is oil-free and water-free, then use an oil-free and water-free whisk to beat the egg white; once the egg white starts to form rich and fine foam, gradually add 150g powdered sugar until the icing can be lifted with the whisk and slowly drips down
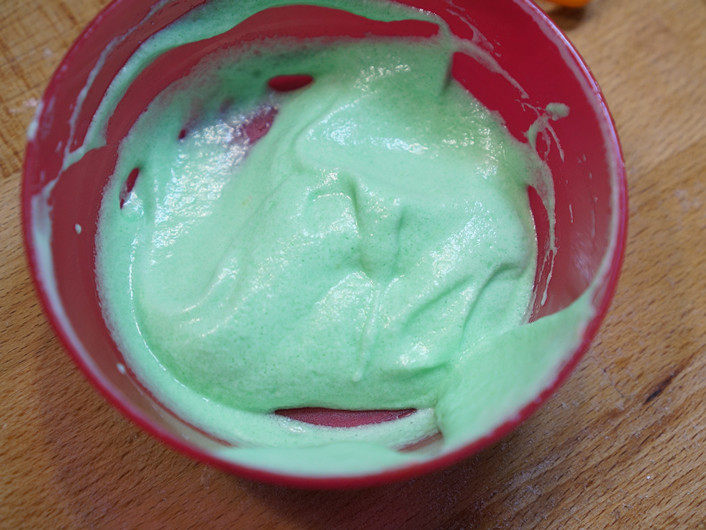
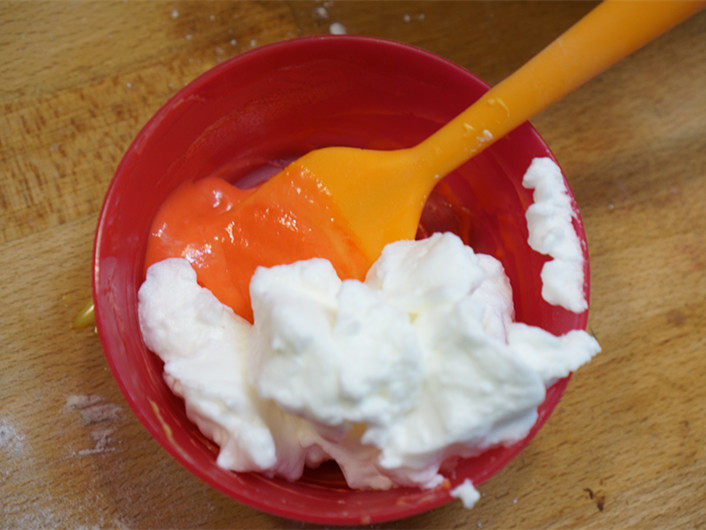
Divide the royal icing into 5 portions, keep one portion white, and color the remaining four portions with red, green, blue, and brown; then fill each color into piping bags

Cut a small opening in the piping bags, wait for the cookies to cool completely, and use your imagination to decorate them with beautiful colors. When applying royal icing on the cookies: usually start by outlining
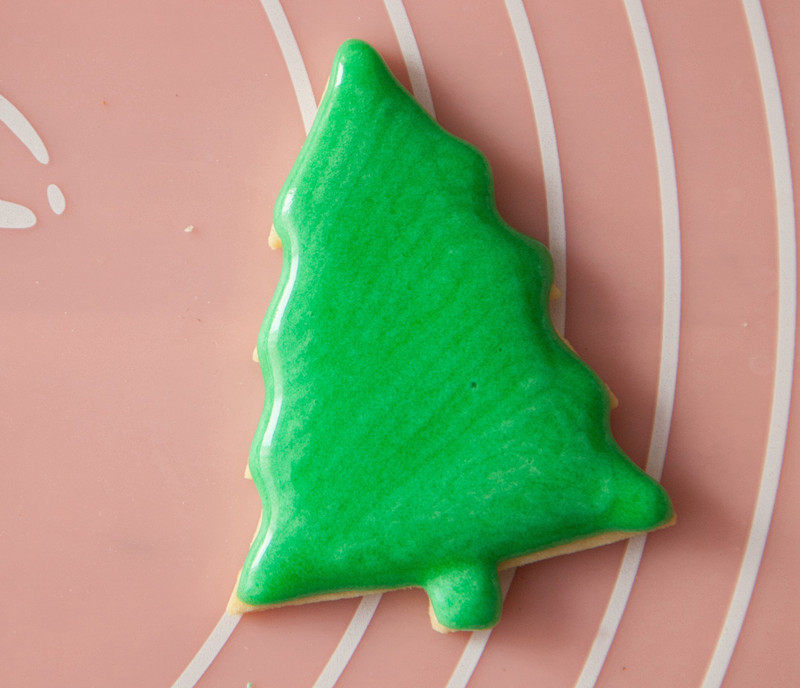
Then fill in the middle
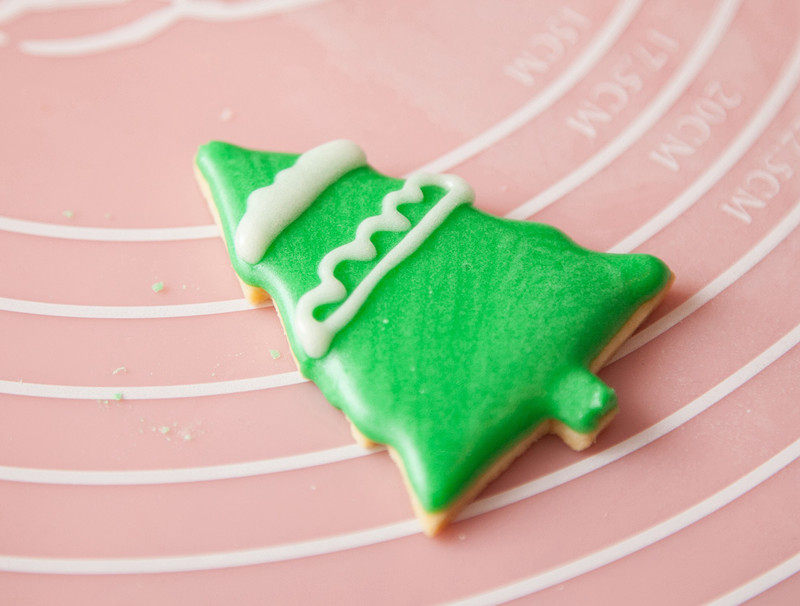
If applying a different color on top of another color, wait for the first color of icing to slightly dry
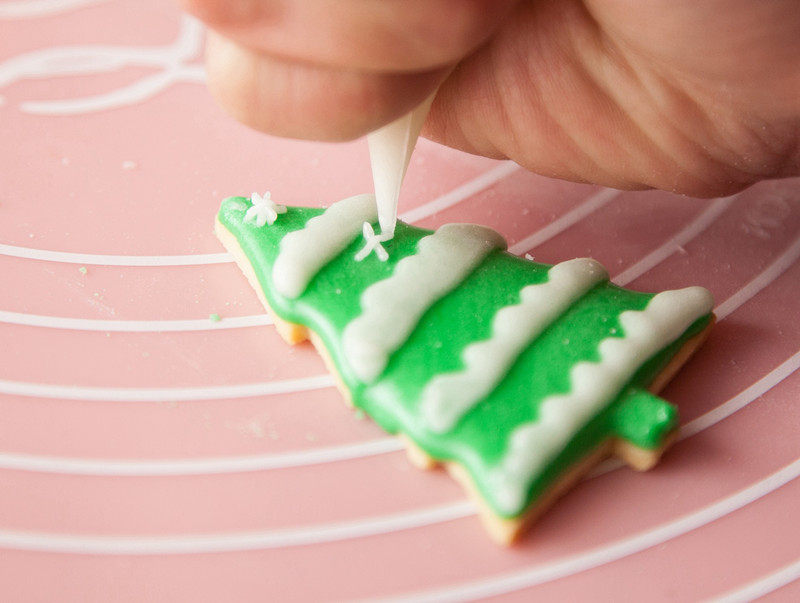
Add snowflakes to decorate the Christmas tree

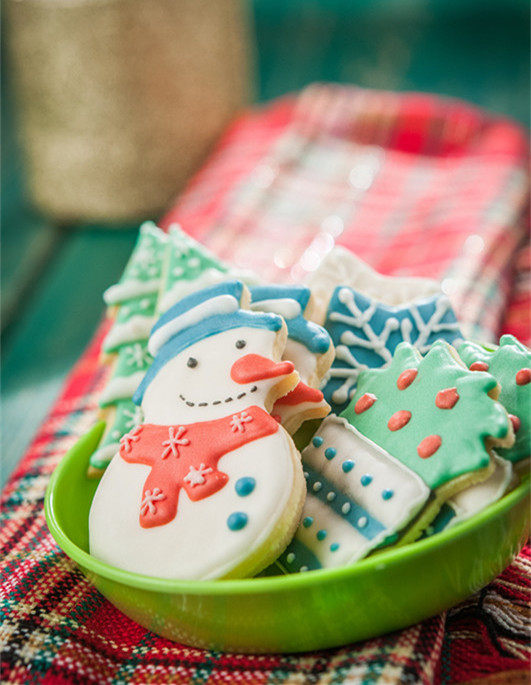
Once the painting is done, place the cookies on a cooling rack in a well-ventilated area to dry completely. These cookies can be stored for a long time and make great holiday decorations

