
Main Ingredients:
Whipped Cream: 500ml; Mixed Fruits: as needed; Yellow Food Coloring: as needed; 8-inch Chiffon Cake Base: 1; Edible Photo: 1.


Flavor: Sweet; Technique: Baking; Time: Several hours; Difficulty: Moderate.
【Tomato Recipe】Christmas Photo Cake – Detailed Cooking Steps
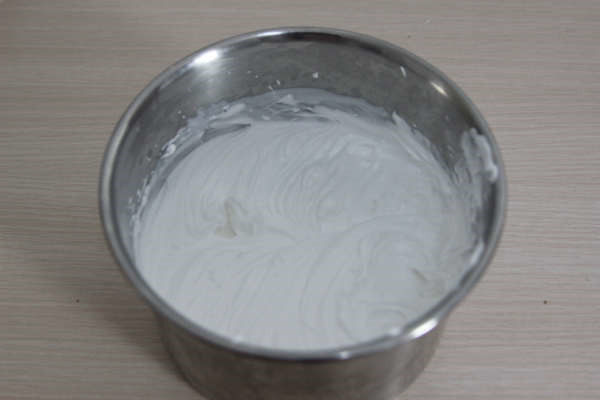
Take out the whipped cream in advance and let it warm up to liquid, then use an electric mixer to beat until soft peaks form.
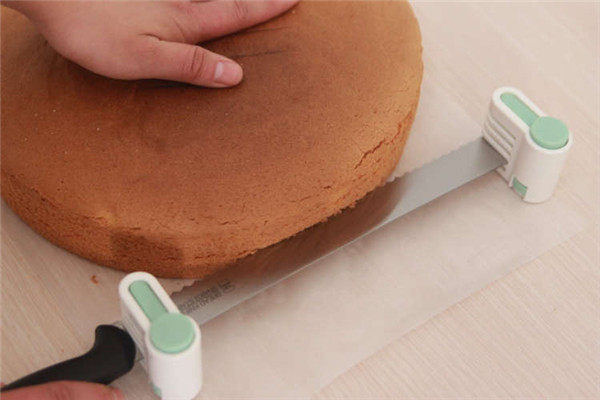
Place the cake leveler on the serrated knife, adjust the height, hold the top of the cake with your left hand, grip the handle with your right hand, and slowly cut from one side of the cake.
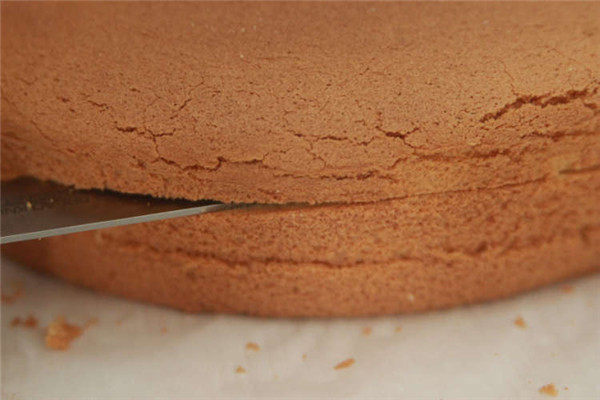
After leveling one layer, adjust the leveler to a higher setting, place it on the serrated knife again, and level another layer.
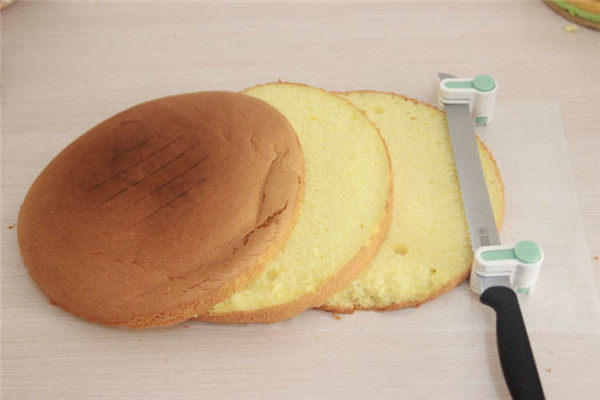
The cake leveled by the leveler is very even.
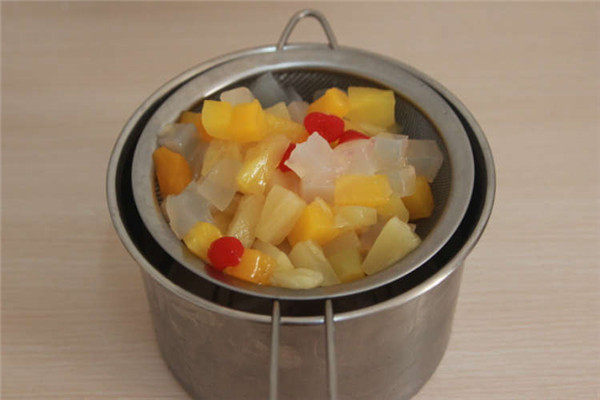
Strain the canned mixed fruits in advance.
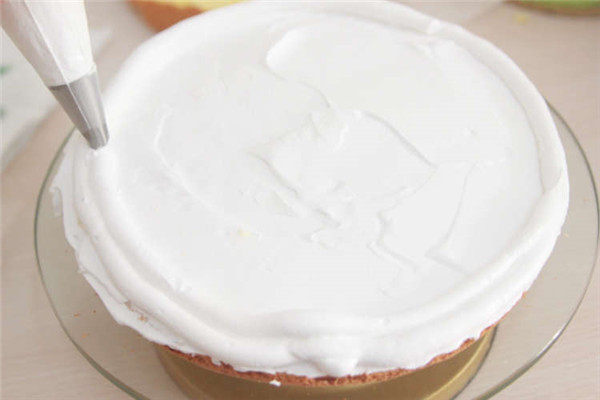
Place one piece of cake on a turntable, spread a layer of cream on the surface, then fill a disposable piping bag with cream, cut a small hole, and pipe a circle around the cake to create a uniform height.
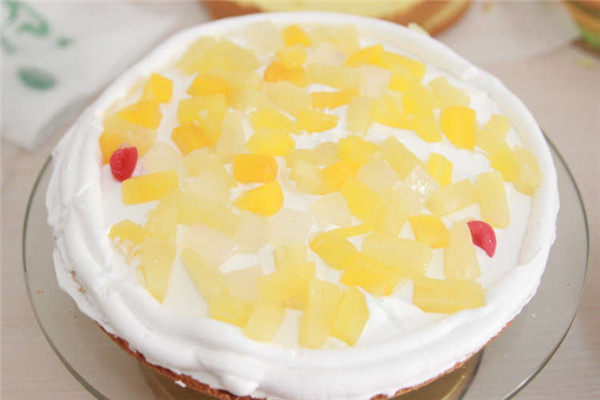
Then place the mixed fruits inside the circle.
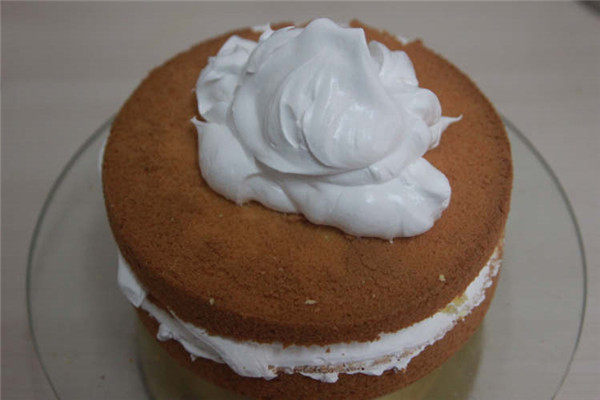
Repeat the process until the final cake layer is placed, then cover the top with a thick layer of whipped cream.
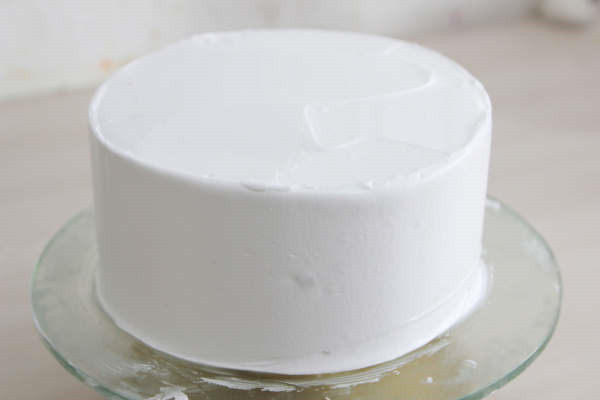
Using a cake smoother, rotate the turntable, place the smoother at the 3 o’clock position on the cake, gently smooth the cake without going past the center, then hold the smoother vertically against the cake, smooth the sides with a thick layer, and repeat the process at the 11 o’clock position to smooth the sides.
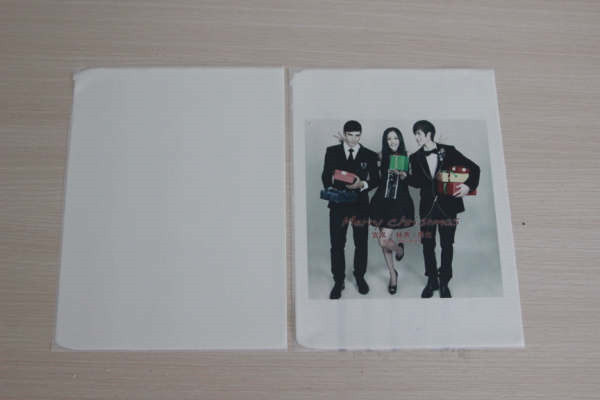
Place the sugar paper in the printer, print the photo, wait for 2 minutes until the surface color completely dries.
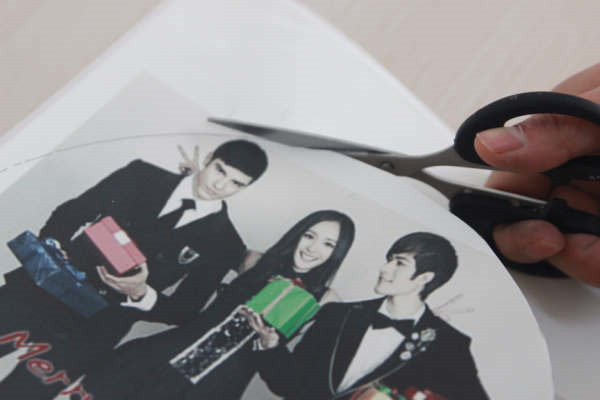
Cut out the sugar paper in the shape and size of the cake.
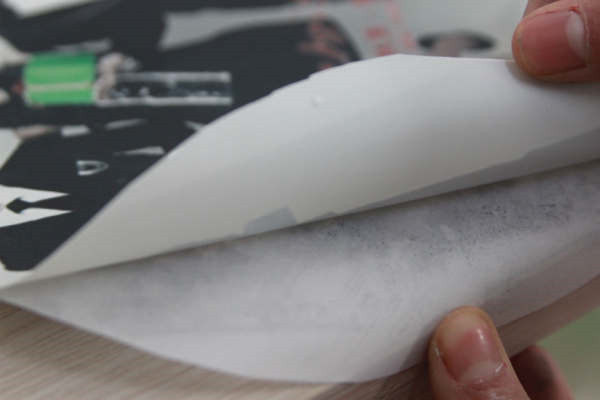
Place the sugar paper on the edge of a table, grab a corner of the plastic sheet and gently pull it down, then carefully peel off the entire sugar paper.
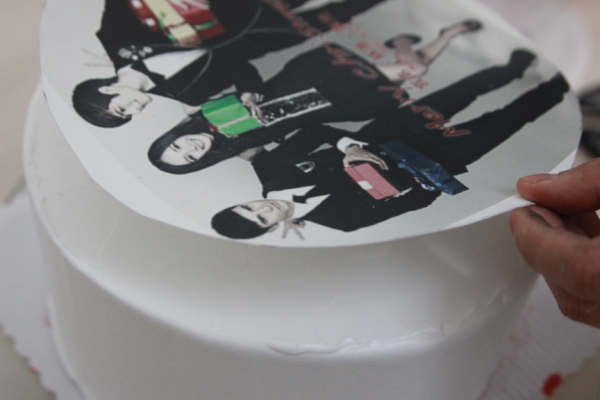
Prepare the smoothed cake, cover it with the sugar paper, and gently smooth it from one direction to another with one hand to prevent air bubbles between the sugar paper and the cream (smooth and complete the action in one go).
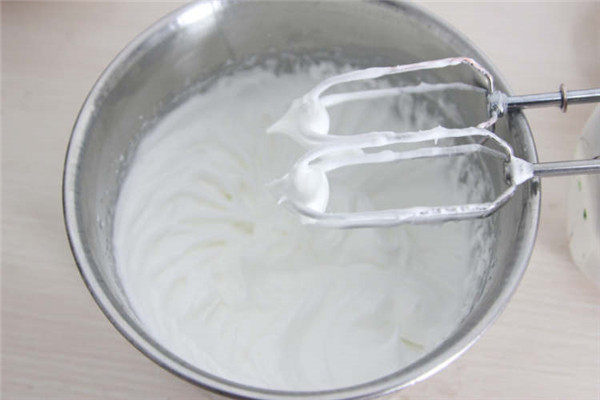
Whip the cream until stiff peaks form.
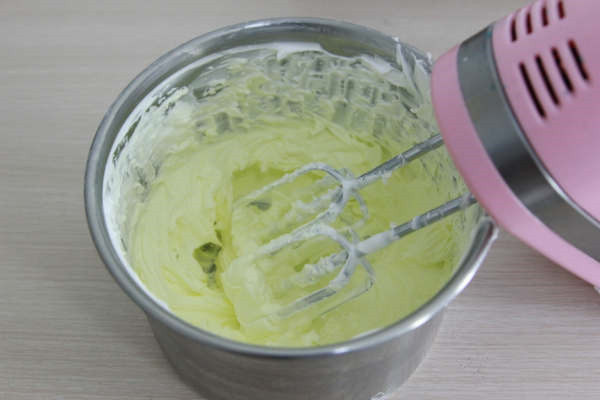
Take a portion of the whipped cream, add some yellow food coloring to create yellow cream.
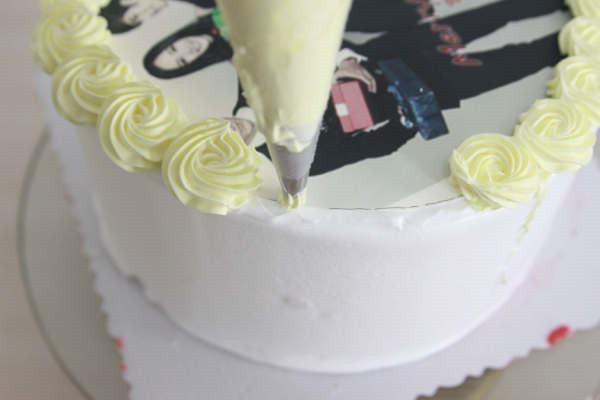
Fill the colored cream into a piping bag with a small cookie nozzle, and pipe a circle of roses around the photo on the cake.
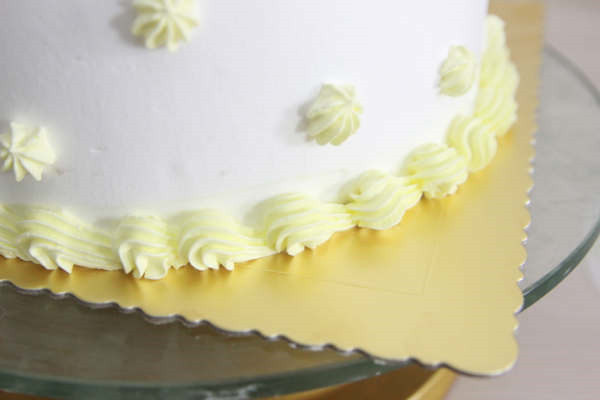
Move the cake to a cake board, then pipe small stars around the sides and shell flowers at the bottom.

Your beautiful and simple cream photo cake is ready.


Leave a Reply